Vibe Coding - how to create UI with AI without design skills
Vibe Coding - how to create UI with AI without design skills
A few weeks ago I came across a piece by the PageAI team about vibe coding and I have to say - they did an excellent job. What's more, their approach perfectly matches how I personally work with AI when creating interfaces.
If you don't have a UX/UI background (like me) but want to create modern, attractive interfaces - this guide is for you.
What is Vibe Coding?
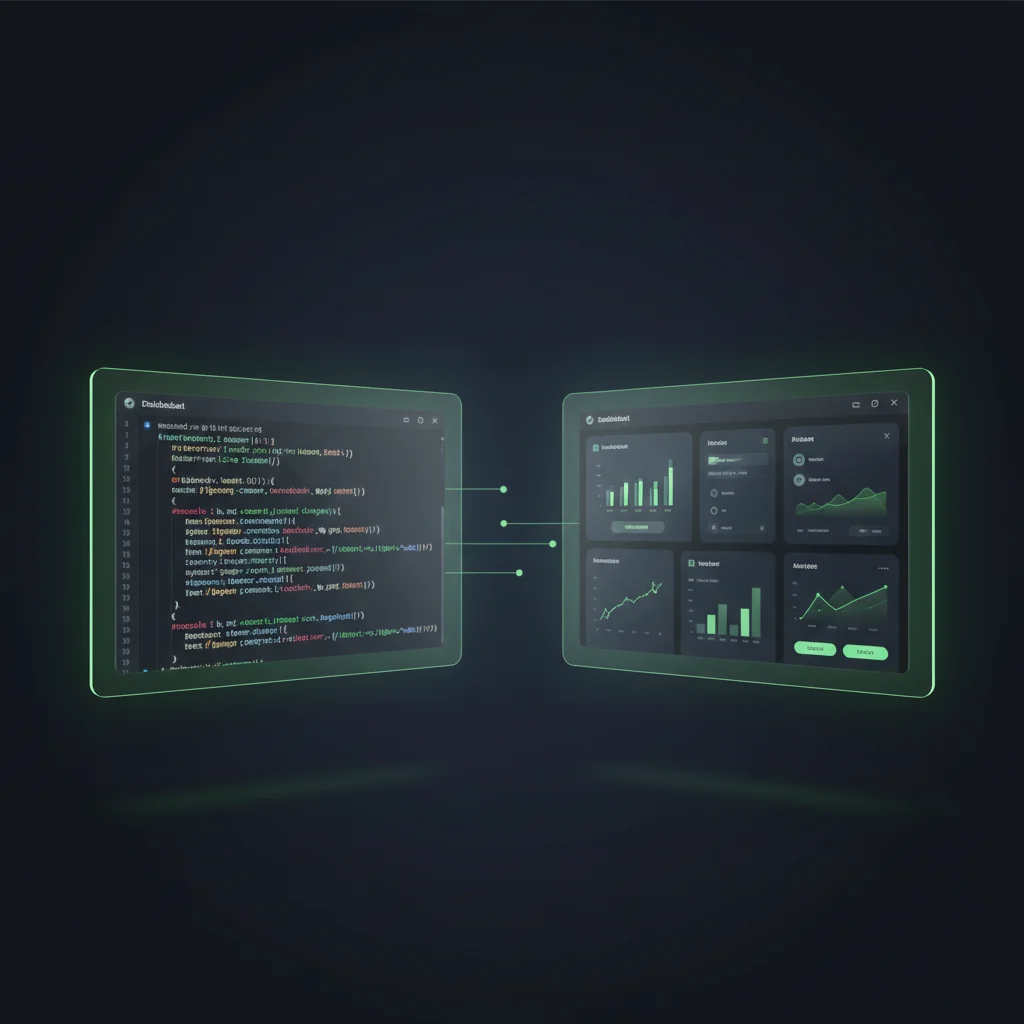
Vibe coding is an approach to building interfaces where instead of precise mockups and pixel-perfect designs, you describe the feeling and vibe you want to achieve. AI (combined with good tooling) translates that into working code.
It's the democratization of UI creation. AI handles reproducing ready-made templates, designs from a photo, or text descriptions remarkably well. Even without design skills you can create something that looks professional.
3 Pillars of Effective Vibe Coding
From experience I know that vibe coding works when you have three things:
1. A Good Base (Starter Kit)
Don't start from scratch. Use a proven boilerplate that has:
- Configured tools (Vite, React, Tailwind)
- A base design system (colors, typography, spacing)
- Basic components
Recommended: Vibe Coding Starter Kit by PageAI
It's a solid base with React + Vite + Tailwind + shadcn/ui. Everything ready for a quick start.
2. Good and Proven Prompts
This is the heart of vibe coding. You need to know how to talk to AI to get sensible results.
Below you'll find proven prompts you can copy and adapt.
3. Good Context for AI
AI needs to understand:
- What your design system is (colors, fonts, spacing)
- What libraries you use (Tailwind, shadcn/ui, etc.)
- What style you're designing (minimalist, bold, glassmorphic)
Without context you get a generic, "AI-looking" design. With context - something unique.
Step 1: Define the Design Brief
Before you ask AI for code, you need to know what you want. Use this prompt:
I need help creating a design brief for [type of project].

Please help me define:

1. Design Style & Aesthetic
   - What visual style best suits this project?
   - What mood/feeling should the design evoke?
   - Any specific design movements or styles to reference?

2. Target Audience
   - Who will use this?
   - What are their preferences and expectations?
   - What devices will they primarily use?

3. Key Features & Priorities
   - What are the core features to highlight?
   - What's the primary user action?
   - What should stand out most?

Based on my answers, create a comprehensive design brief that I can use with AI coding assistants.
Example usage:
Me: "I need help creating a design brief for a personal portfolio website."
AI will help you think through the style (e.g., minimalist with neon accents), target audience (tech recruiters, freelance clients), and key elements (hero section, projects, contact).
The result? A clear brief you can pass along in subsequent prompts.
Step 2: Create an AI Design Style Reference
This is where the magic starts. Create a document that AI will use as a reference point for the entire project.
Visual Style
Define the visual style in a table:
| Aspect | Choice | Rationale |
|---|---|---|
| Overall Aesthetic | Minimalist Brutalism | Highlights content, modern vibe |
| Color Palette | Monochromatic + neon accent | Readable, expressive, tech-forward |
| Typography | Inter (sans-serif) | Readable, professional |
| Spacing | Generous whitespace | Eases focus, premium feel |
| Visual Weight | Bold typography, subtle UI | Content > decoration |
Layout Structures
| Layout type | When to use | Characteristics |
|---|---|---|
| Hero Full-Screen | Landing pages | Maximum impact, CTA above the fold |
| Sidebar Layout | Dashboards, applications | Navigation always visible |
| Card Grid | Portfolios, galleries | Scannable, responsive |
| Split Screen | Comparisons, dual content | 50/50 attention split |
Color Themes
| Theme | Primary | Background | Text | Accent |
|---|---|---|---|---|
| Dark Mode | #0f172a | #020617 | #f1f5f9 | #22d3ee |
| Light Mode | #ffffff | #f8fafc | #0f172a | #0ea5e9 |
| Neon Dark | #000000 | #0a0a0a | #ffffff | #00ff9d |
Pro tip: Save these tables as a separate file (e.g., design-reference.md) and include them in the AI context (Cursor, Claude, ChatGPT).
Step 3: Implement with AI
Now you have a brief and style reference. Time for code. Use this prompt:
I need you to build [specific component/page] using React and Tailwind CSS.

DESIGN CONTEXT:
[Paste your design brief and style reference]

TECHNICAL REQUIREMENTS:
- Use React functional components with hooks
- Use Tailwind CSS for all styling (no custom CSS)
- Make it fully responsive (mobile-first)
- Follow accessibility best practices (WCAG 2.1 AA)
- Use semantic HTML

SPECIFIC REQUIREMENTS FOR THIS COMPONENT:
- [Describe exactly what it should do]
- [What sections/elements to include]
- [Any special interactions]

VISUAL DETAILS:
- Follow the [specific style] from the design reference
- Use [specific color theme]
- Ensure [specific spacing/typography rules]

Please provide:
1. Complete, production-ready component code
2. Brief explanation of design decisions
3. Any additional dependencies needed

Start with the code, then explain.
Real-world usage example:
I need you to build a Hero section for a SaaS landing page using React and Tailwind CSS.

DESIGN CONTEXT:
- Style: Minimalist with gradient background
- Color: Dark mode with cyan accent (#22d3ee)
- Typography: Inter, bold headlines
- Spacing: Generous (p-8, gap-8)

TECHNICAL REQUIREMENTS:
- React functional component
- Tailwind CSS only
- Mobile-first responsive
- WCAG 2.1 AA compliant

SPECIFIC REQUIREMENTS:
- Headline + subheadline + CTA button
- Gradient background (slate to cyan)
- CTA button with hover effect
- Centered content, max-width container

VISUAL DETAILS:
- Use Dark Mode theme from reference
- Cyan accent for CTA
- Bold typography (font-bold, text-5xl for headline)

Start with the code.
AI will give you a ready component you can use right away.
Design Tokens - Your Design System in JSON
One of the best practices is keeping design tokens in JSON. This gives AI a single source of truth about your colors, spacing, and typography.
Example design-tokens.json:
{
  "colors": {
    "primary": {
      "50": "#f0fdfa",
      "100": "#ccfbf1",
      "500": "#14b8a6",
      "900": "#134e4a"
    },
    "neutral": {
      "50": "#f8fafc",
      "900": "#0f172a"
    },
    "accent": {
      "cyan": "#22d3ee",
      "neon": "#00ff9d"
    }
  },
  "typography": {
    "fontFamily": {
      "sans": ["Inter", "system-ui", "sans-serif"],
      "mono": ["Fira Code", "monospace"]
    },
    "fontSize": {
      "xs": "0.75rem",
      "sm": "0.875rem",
      "base": "1rem",
      "lg": "1.125rem",
      "xl": "1.25rem",
      "2xl": "1.5rem",
      "3xl": "1.875rem",
      "4xl": "2.25rem",
      "5xl": "3rem"
    },
    "fontWeight": {
      "normal": "400",
      "medium": "500",
      "semibold": "600",
      "bold": "700"
    }
  },
  "spacing": {
    "xs": "0.5rem",
    "sm": "1rem",
    "md": "1.5rem",
    "lg": "2rem",
    "xl": "3rem",
    "2xl": "4rem"
  },
  "borderRadius": {
    "none": "0",
    "sm": "0.25rem",
    "md": "0.5rem",
    "lg": "1rem",
    "full": "9999px"
  }
}
How to use it?
- Create a design-tokens.json file in your project
- Import it in your Tailwind config (tailwind.config.js)
- Include it in prompts: "Use colors and spacing from design-tokens.json"
AI will stick to your design system.
Tools I use
Cursor (my #1 choice)
Cursor is an IDE based on VS Code with built-in AI. It supports:
- Composer - creates/modifies multiple files simultaneously
- Chat - conversation with full project context
- Cmd+K - inline code editing
Why Cursor? Because AI sees the entire project. It knows what components you use, what design system you have, what folder structure. It generates consistent code.
Shadcn/ui
A component library you can install via CLI. The components are yours - you copy them into your project and modify them.
AI knows shadcn/ui really well, so when you say "use shadcn Button component," you'll get exactly that.
v0.dev (optional)
A Vercel tool for generating UI from text prompts. Good for quick prototypes, but the code often needs polishing.
Practical tips
1. Start with small components
Don't try to generate an entire page right away. Start with:
- Button
- Card
- Input
- Navigation
Once you have base components, AI can compose them into larger layouts more easily.
2. Iterate on live code
Vibe coding isn't "generate and done." It's iteration:
- Generate the first version
- Preview in the browser
- Refine the prompt ("Make the button larger, add hover effect")
- Generate again
- Repeat
3. Use screenshots as input
AI (especially Claude with vision) can reproduce a design from a photo. Find inspiration on Dribbble/Behance, take a screenshot, paste it into AI:
Recreate this design using React and Tailwind CSS.
Maintain the layout and color scheme, but adapt it to our design system.
It works surprisingly well.
4. Keep documentation alongside
Include in context:
- design-reference.md - Your style guide
- design-tokens.json - Design system
- component-patterns.md - How you use your components
AI will stay consistent with your project.
Pitfalls to avoid
Generic "AI design"
Without context AI generates boring, generic UI. Always:
- Specify a concrete style (minimalist, brutalist, glassmorphic)
- Point to inspirations (e.g., "like Stripe's homepage")
- Define colors and typography
Components that are too large
Don't ask AI for "an entire landing page." Break it into:
- Hero section
- Features section
- Pricing section
- Footer
Smaller pieces = better control.
No design system
If every component has different shades of blue and different border radii, your UI looks like Frankenstein. Create design tokens and stick to them.
Key takeaways
- Vibe coding works - even without design skills you can create professional UI
- The 3 pillars are key - good base, good prompts, good context
- AI is a tool, not a magic wand - you need a clear brief and iteration
- A design system is the foundation - create it once, use it everywhere
- Get inspired, don't copy - AI helps you create something unique, not generic
Resources for further learning
- Vibe Coding Starter Kit - solid base to start
- Tailwind CSS Docs - official documentation
- Shadcn/ui - component library
- Realtime Colors - color palette generator
- Font Pair - typography inspiration
What to do next?
If you want to get started with vibe coding:
- Clone the starter kit from GitHub
- Create a design brief for your project (use the prompt from this article)
- Define a style reference - tables with visual style
- Generate your first component (start with Button)
- Iterate and learn
Need support implementing AI in product development?
I'll help you configure AI tools, automate workflows, and implement vibe coding in your project. From tool selection through environment setup to developer process optimization.
Book a free consultationFAQ
What is vibe coding and who is it for?
Vibe coding is an approach to UI creation where instead of pixel-perfect mockups you describe the feeling and style you want to achieve. AI translates that into working code. It's designed for people without a UX/UI background who want to create professional interfaces - developers, entrepreneurs, product creators.
What are the 3 pillars of effective vibe coding?
A good base (starter kit with Vite, React, Tailwind, and basic components), good prompts (specific instructions for AI with design context), and good context (design system, libraries, project style). Without these three elements AI generates generic, inconsistent designs.
Why keep design tokens in a JSON file?
Design tokens are a single source of truth about your project's colors, spacing, and typography. When AI includes this file in context, it maintains a consistent design system. Without tokens, every component has different shades and border radii - the interface looks like Frankenstein assembled from random parts.
What tools are best for vibe coding with AI?
Cursor (IDE with built-in AI that sees the whole project), shadcn/ui (components copied into your project, well known by AI), and optionally v0.dev (Vercel for quick prototypes). Cursor is the number one choice - AI generates consistent code because it knows the folder structure and existing components.
How to avoid generic "AI design" when vibe coding?
Always specify a concrete style (minimalist, brutalist, glassmorphic), point to inspirations ("like Stripe's homepage"), and define colors and typography in a design reference. Break tasks into small components instead of asking for an entire page at once. Iterate - vibe coding is a process of generating, previewing, and refining, not a one-shot generation of finished UI.